The other day I showed you a table that I painted using
Powder River Organic Paint in Buckskin.
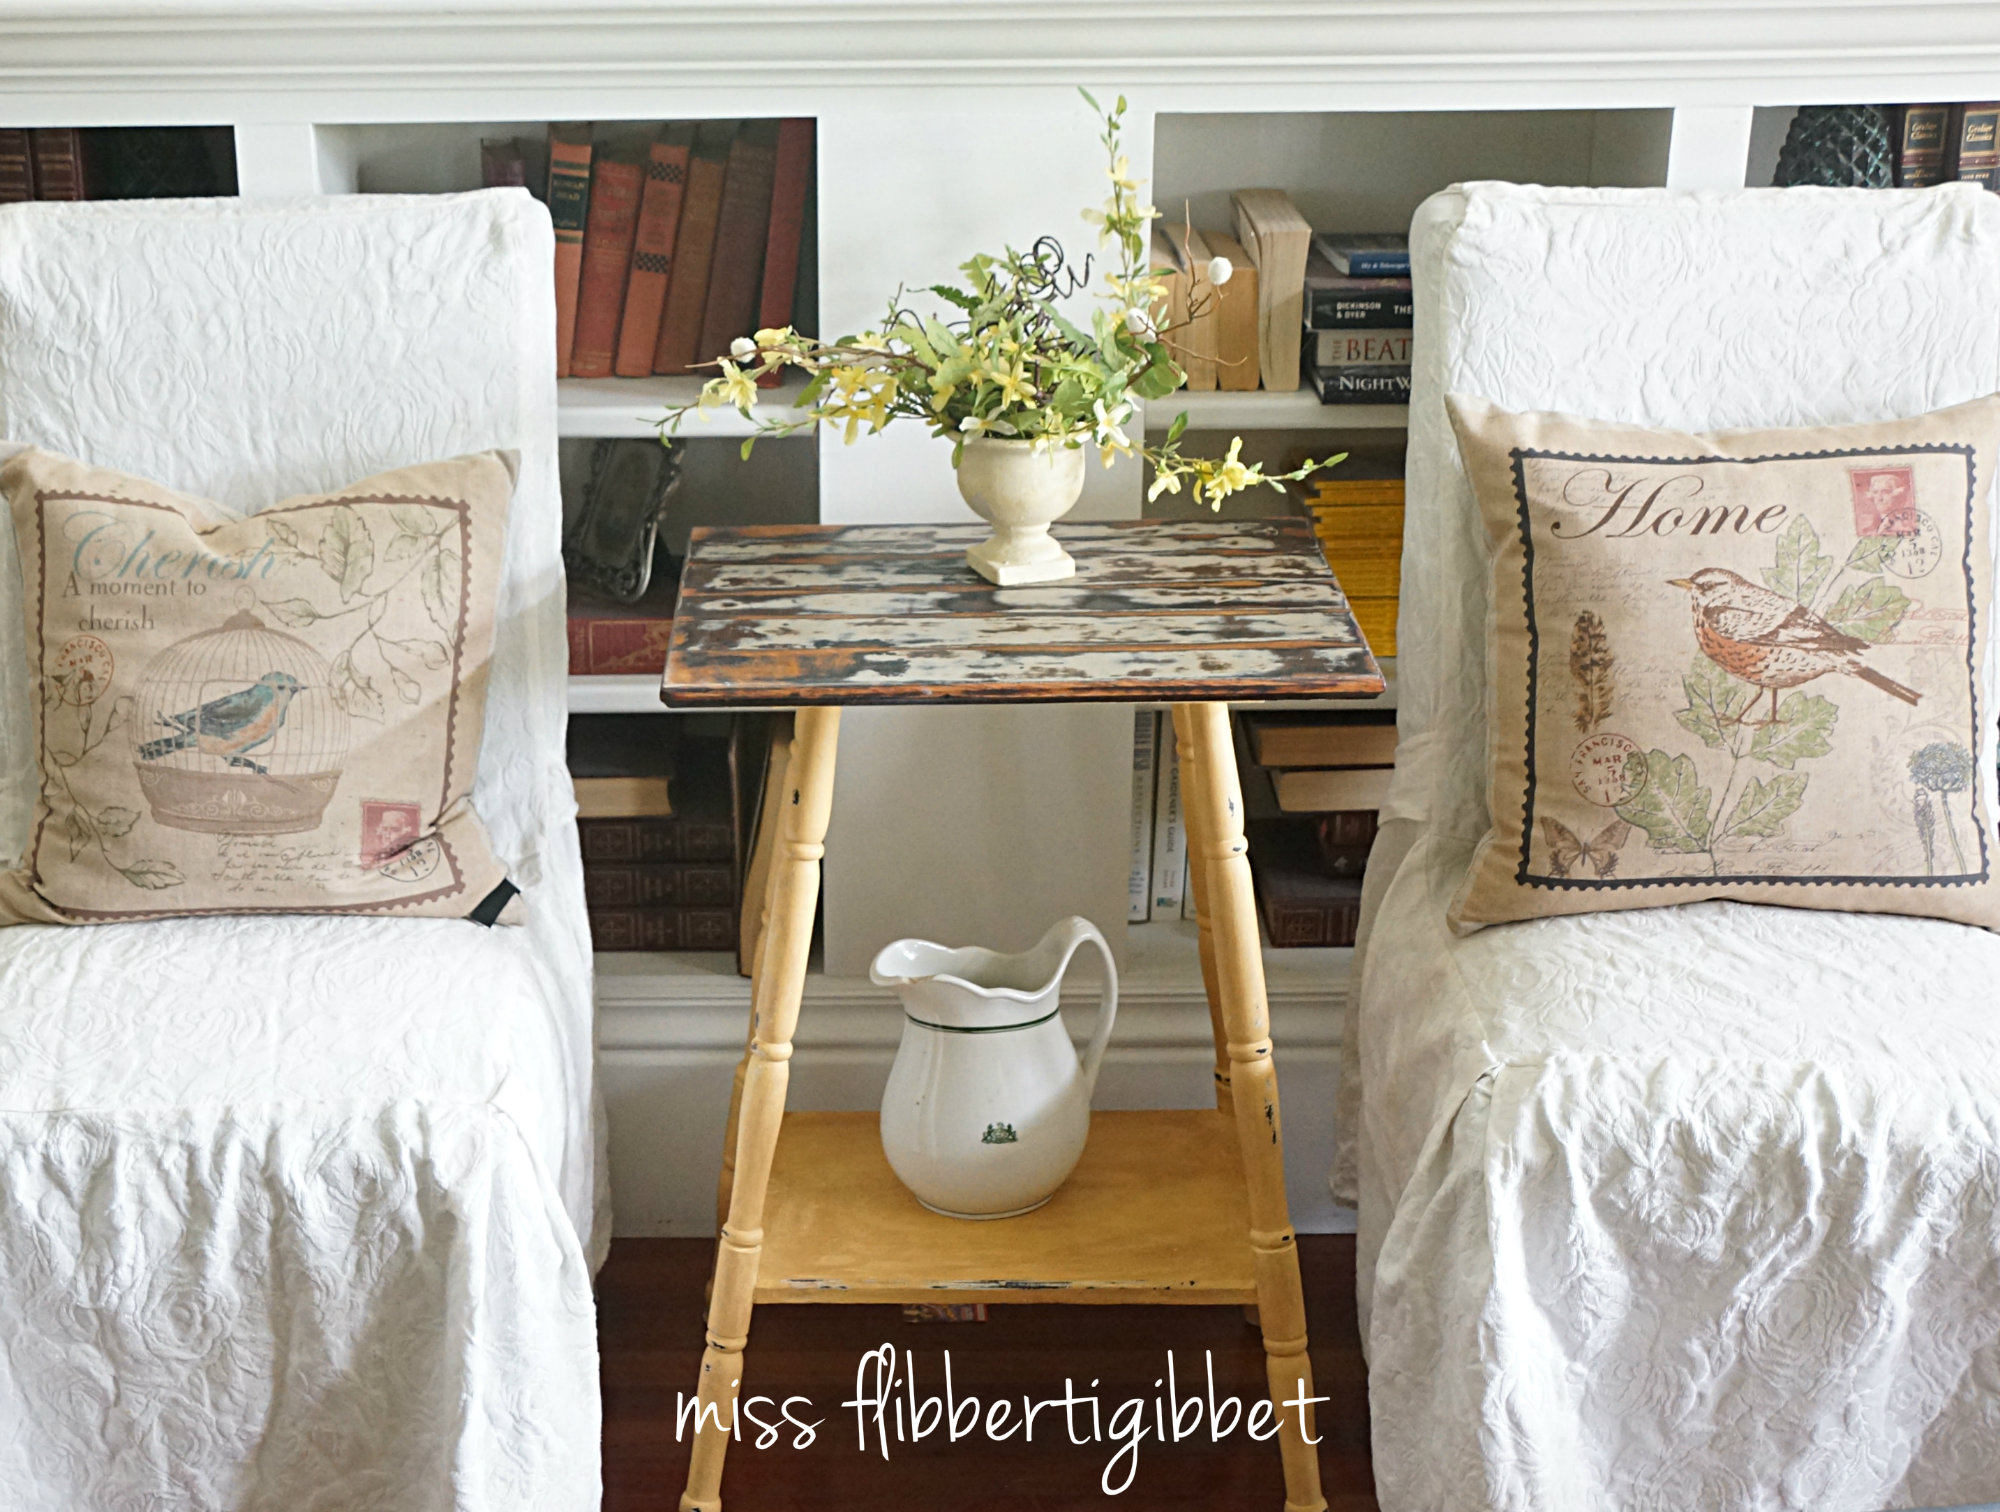
The top of the table ended up with an interesting look which was not completely due to any sort of expertise of mine but rather, just a willingness to “go with the flow” and take advantage of the unexpected.
The table started out like this…..
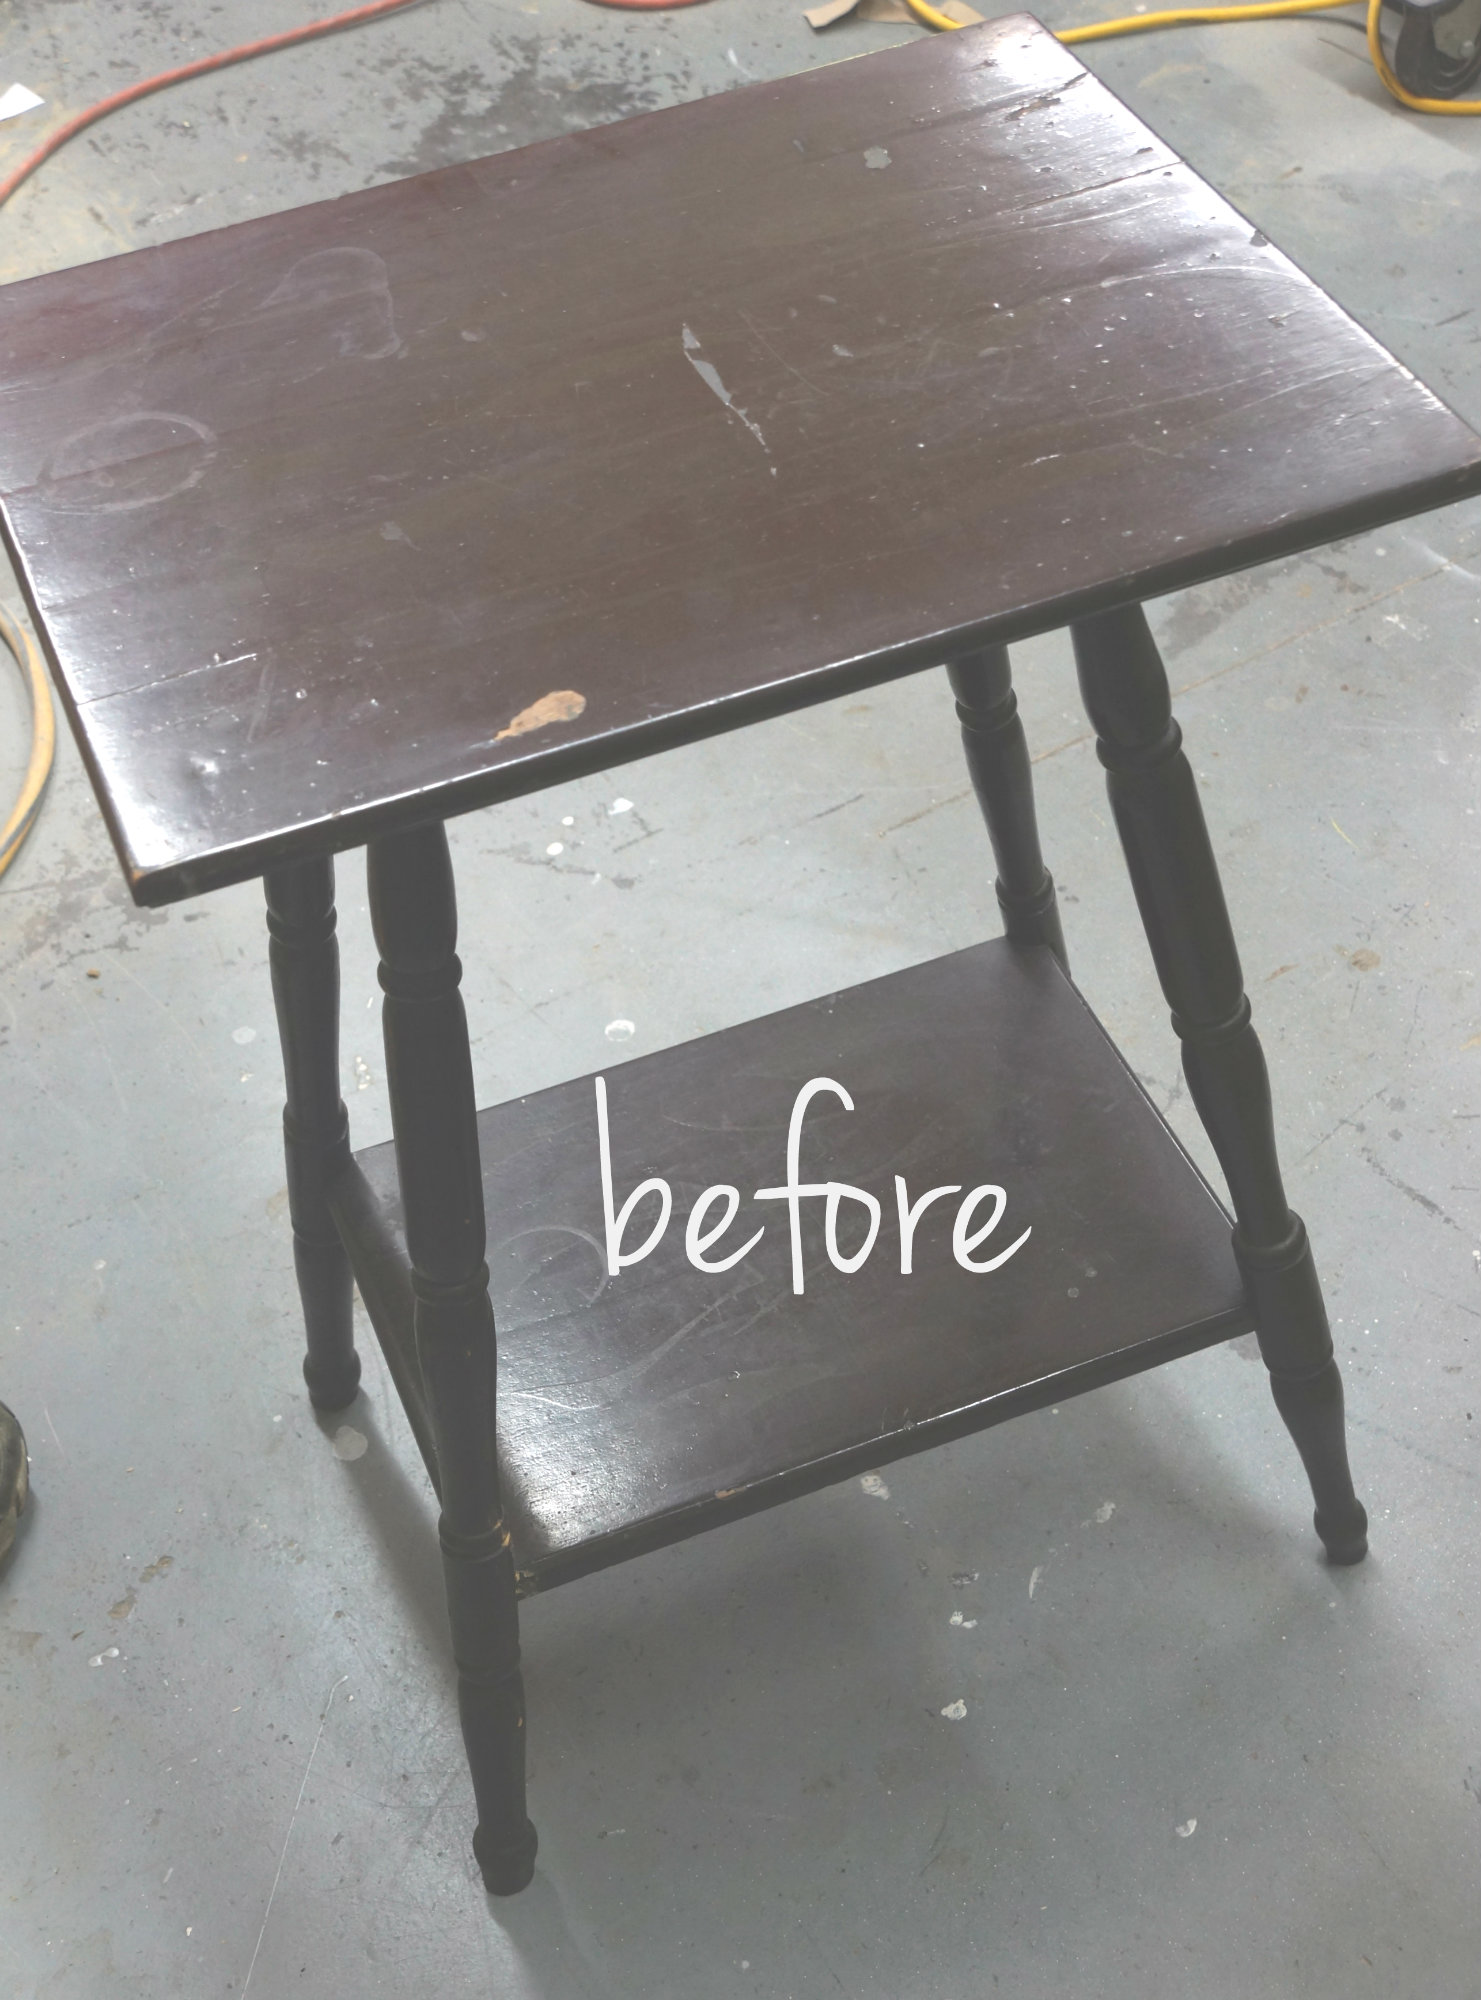
Covered in ugly brown paint. But, as you can see, it is an old table. When I looked underneath I could see just how old. It was wobbly and needed some repair but it was cheap due to all of the above. So, home it came!
Initially, I was just going to paint it up in the Powder River Organic paint and stick it in the shop.
But, I decided I would do a bit of sanding first, just to take the edge off and make sure the paint adhered well.
All these chalk/clay based paints state they can just be used right over any finish and, they can. But, if you sell furniture, as I do, then I want to be REALLY sure I do not have an unhappy customer who comes back to complain or WORSE, just never comes back and tells other people my stuff is not worth buying! BAD, REALLY BAD. A home user can slap some paint on and if there’s a problem down the road, just fix it and be done. I can’t be quite so easy going about it.
In the shop I use a variety of sanding tools. Plain old sandpaper, belt sanders and my favorite, the orbital sander. I never use the orbital sander to distress furniture usually as I like to be a bit more defined and direct about where I sand and how much. But, I use it all the time to remove finishes, take down a finish and smooth out repair areas.
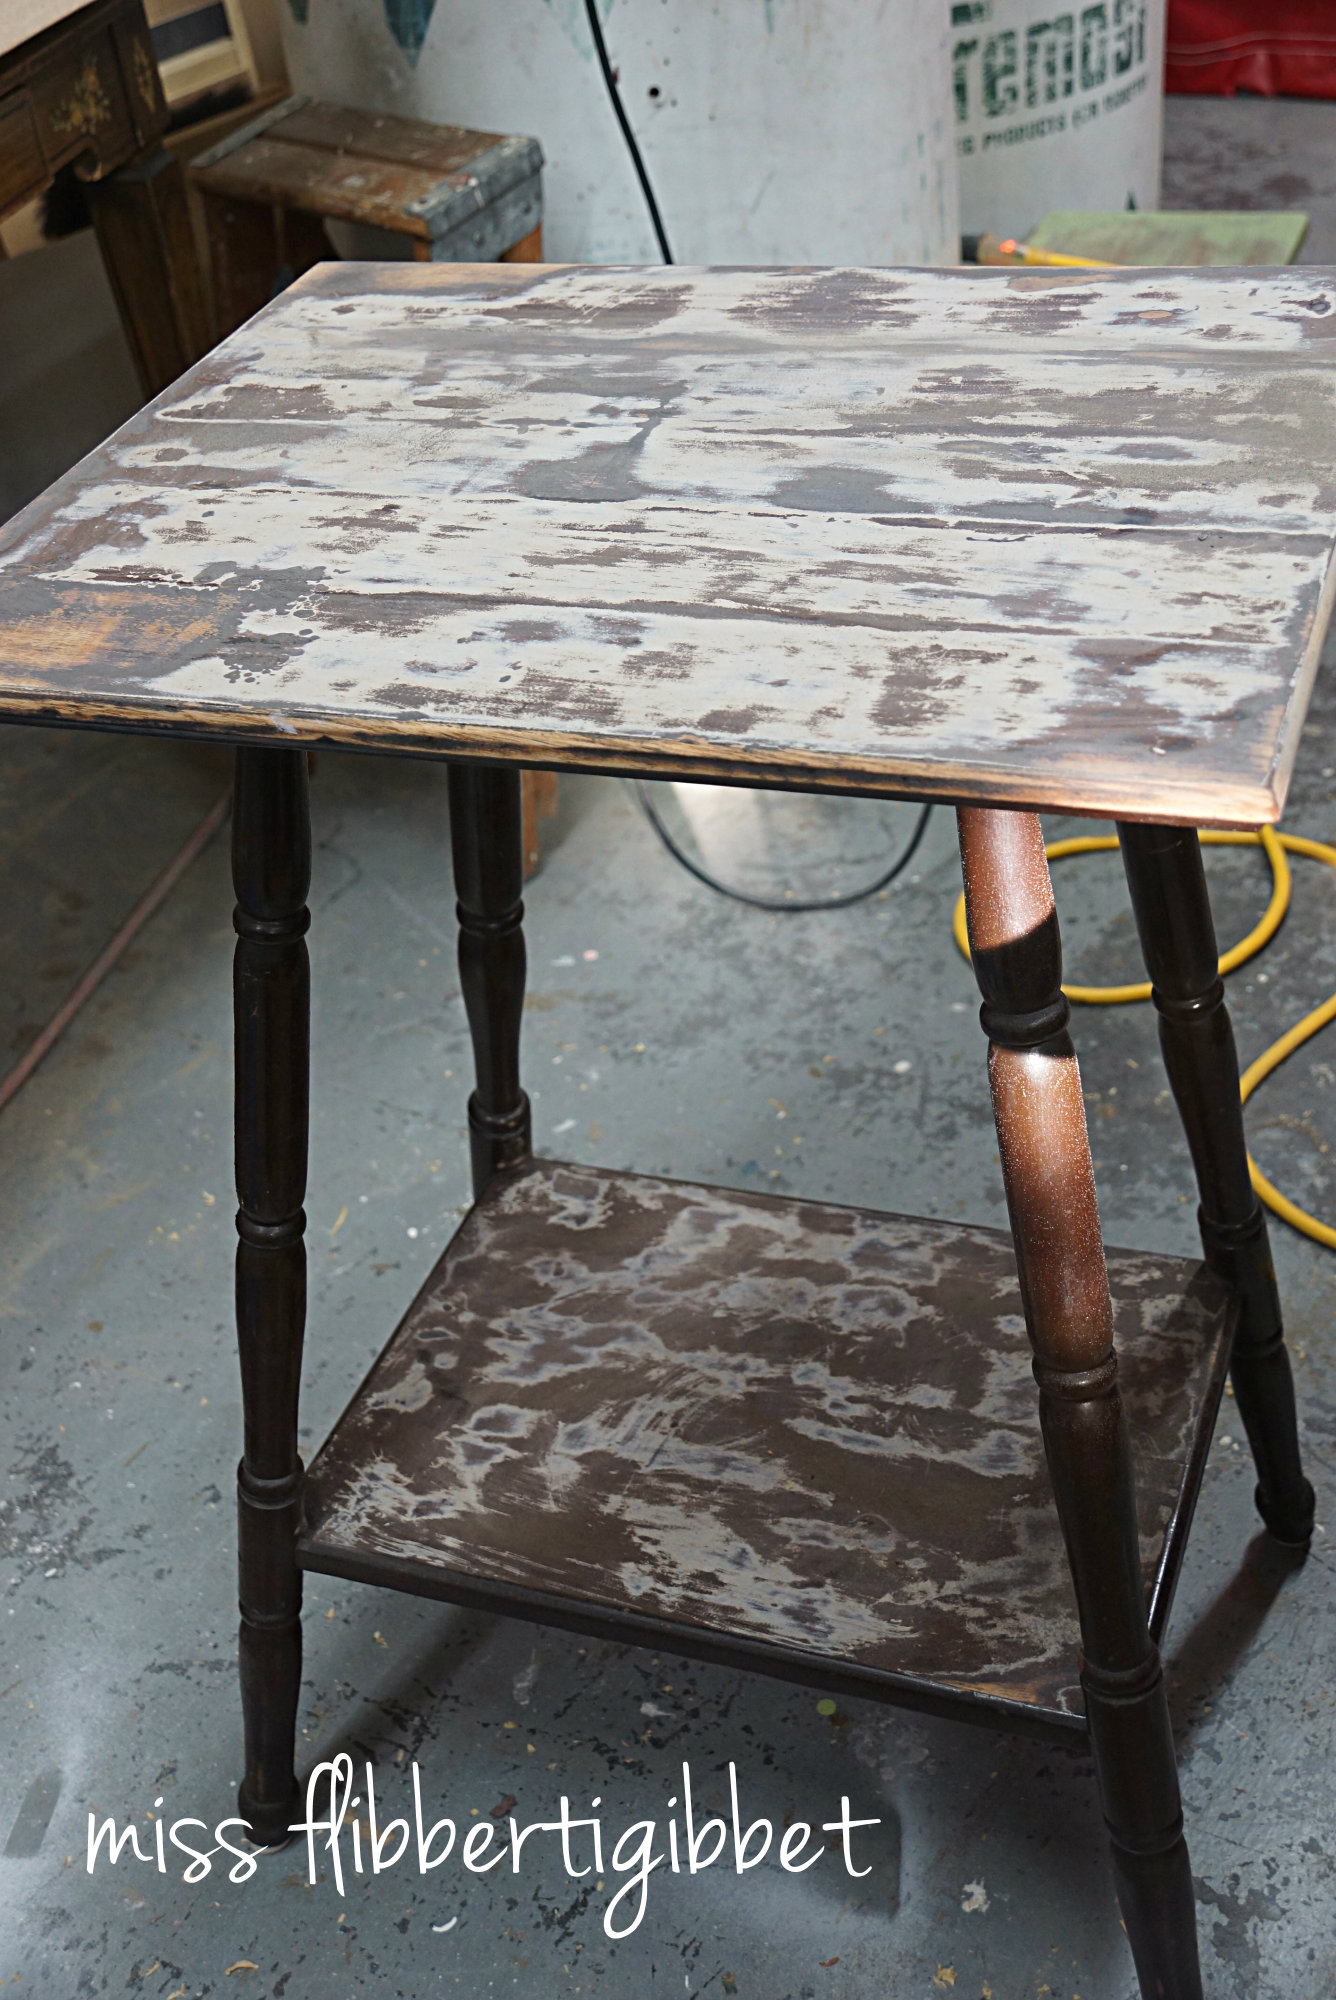
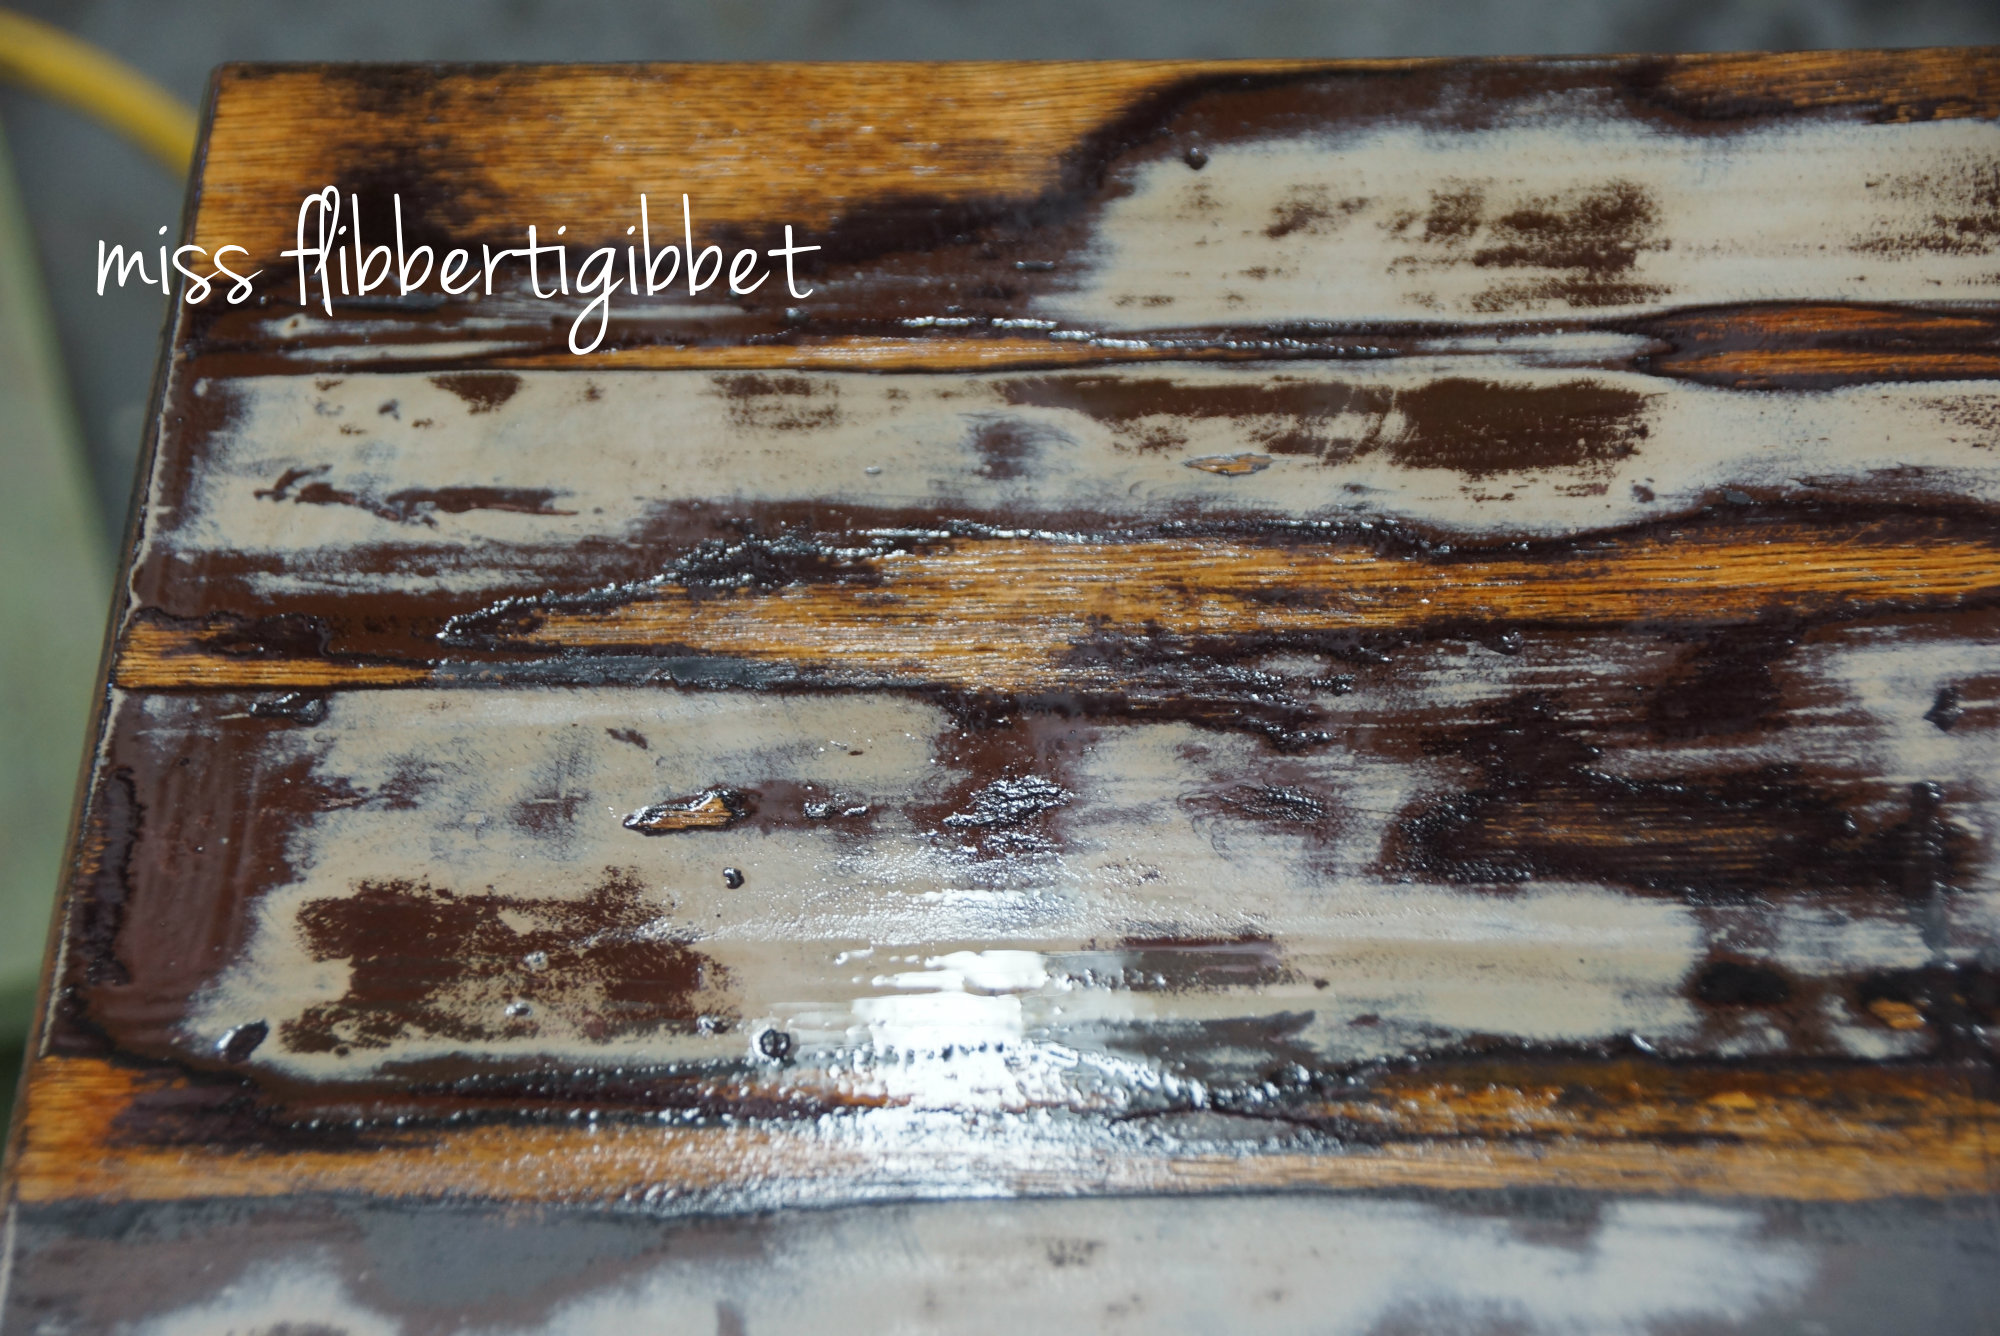
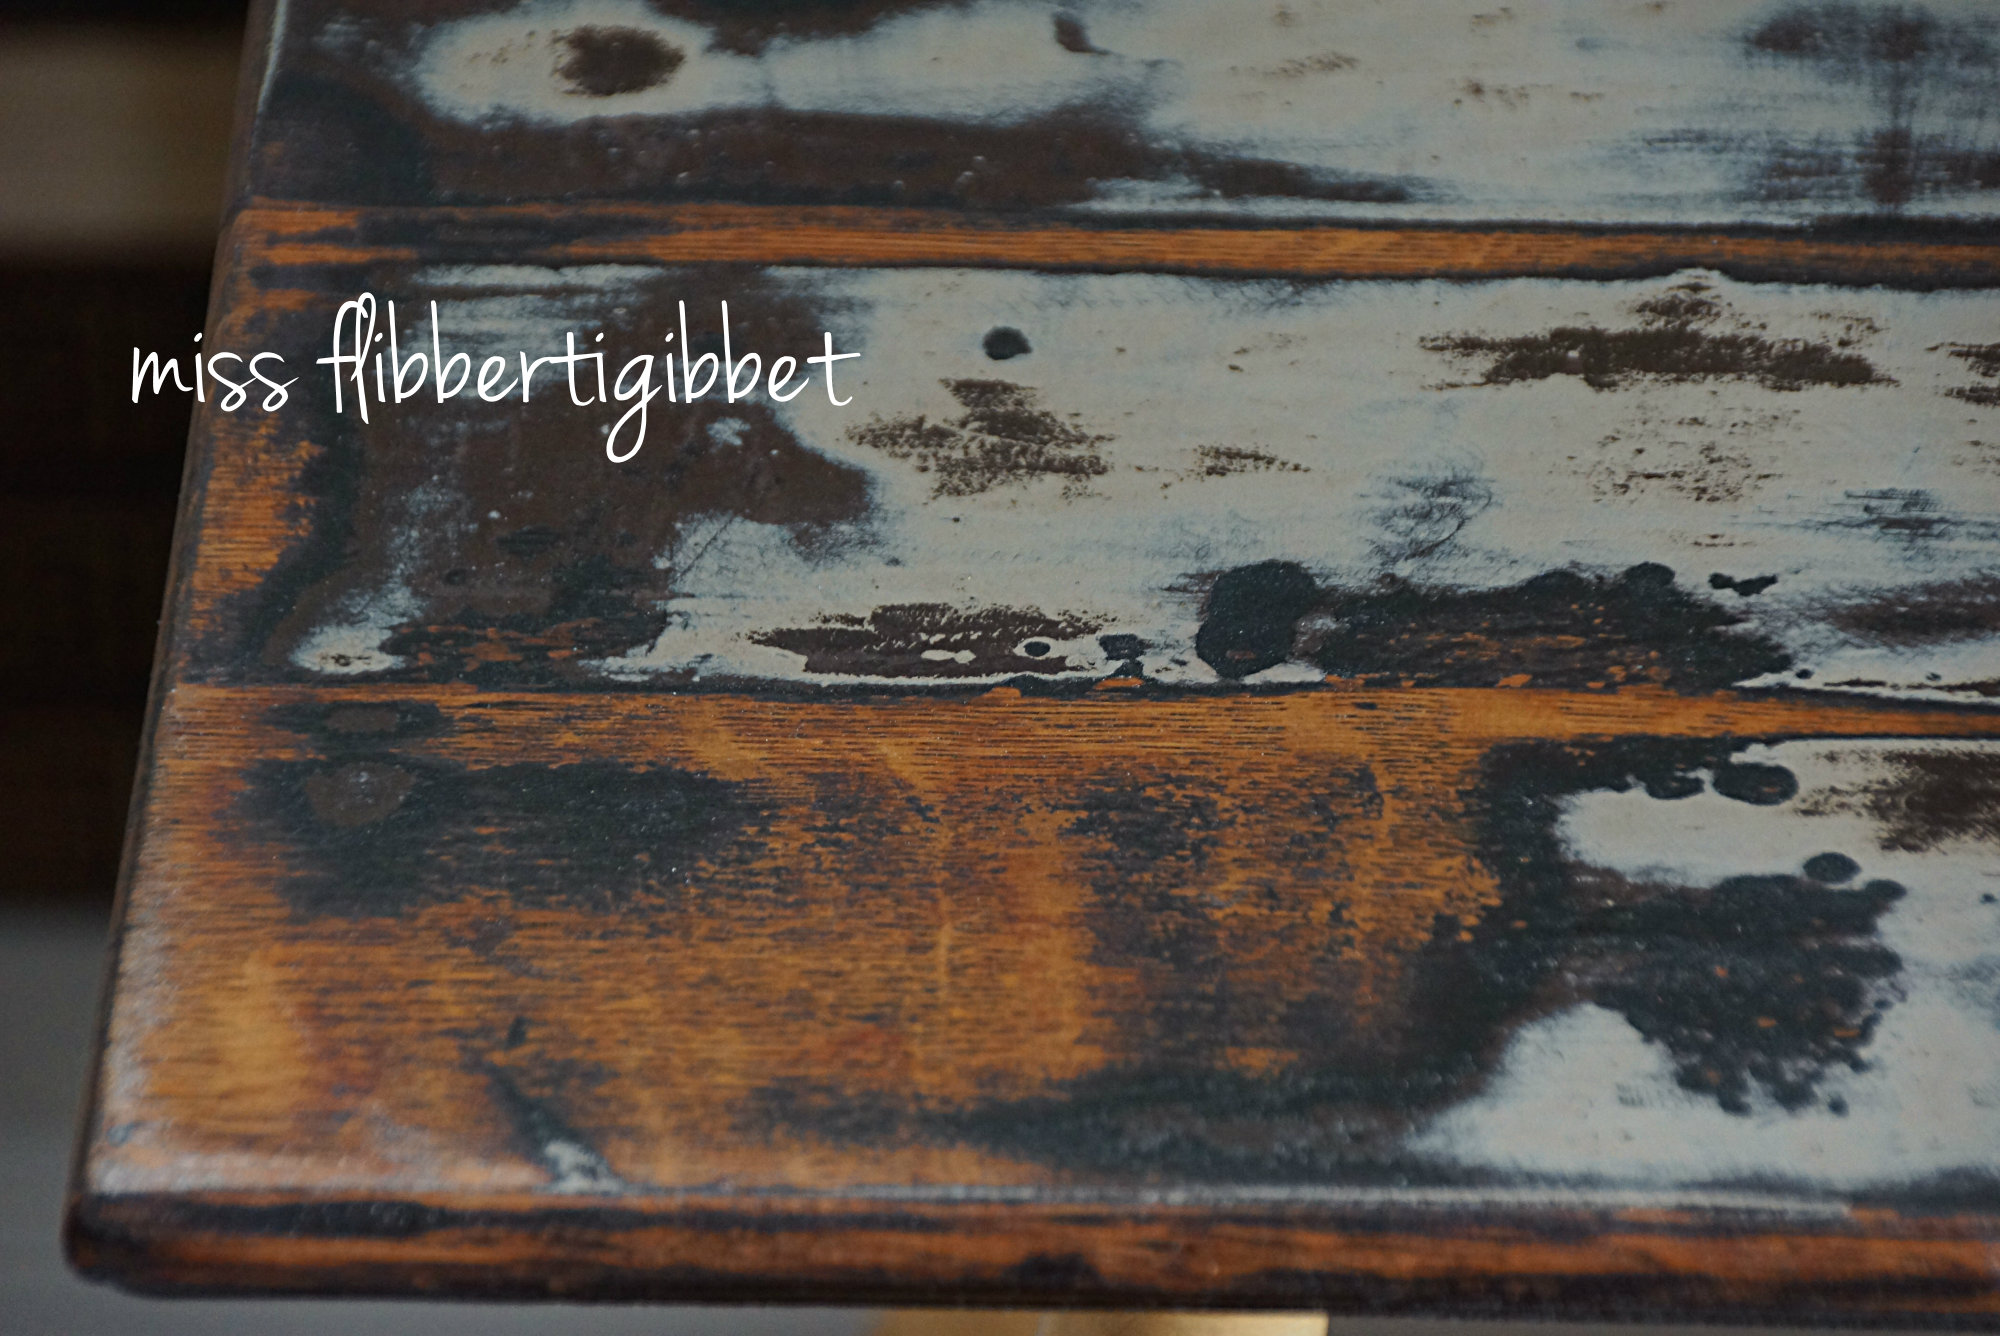
As I started to sand the top, I noticed that the paint was coming off and creating a planked effect.
You can sort of see the planking even in the first, unfinished picture.
Given the age of the table, a planked top would be about right. But, there was no gapping or separation of the planks at all. I suppose, when it was painted the first time (white) that the paint had seeped into the cracks and made a bit of a ridge. Then with the second (brown) painting, it just added to a slight difference in height along all those plank edges. So, when I hit it with the flat sander, I ended up with these higher level areas sanding off first and got this great look!
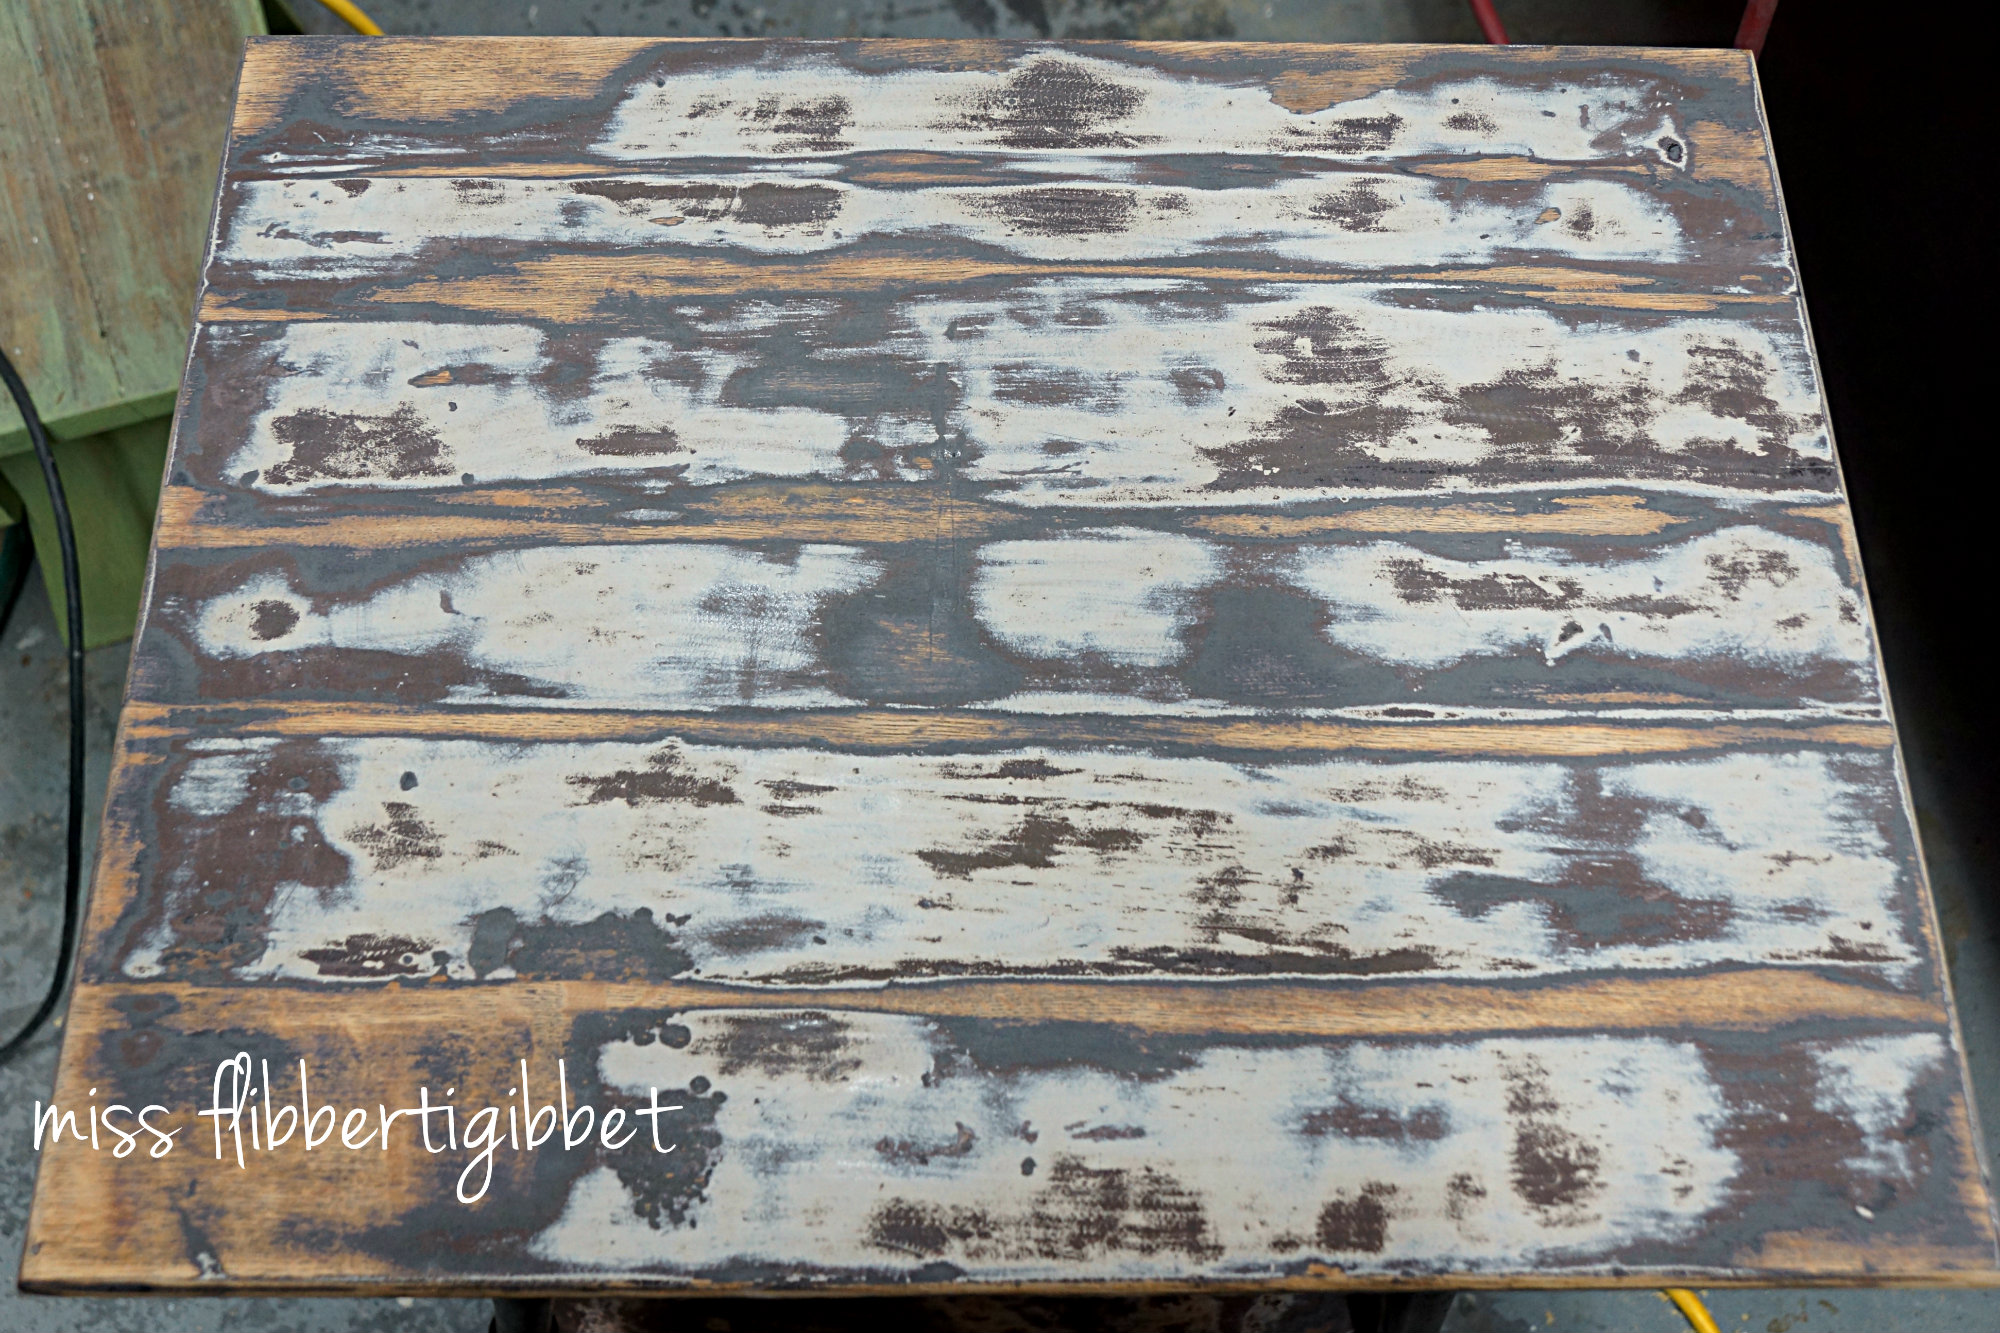
I decided to use the orbital sander to enhance the look as much as possible. The above picture is what I did and not the result of just sanding across the table. As I sanded, I was taking down the paint all over and would have eventually had a smooth, paint free table. But since I decided to go with what was happening, I tilted the sander slightly and used the edge to run along the lines that had already formed. In a couple places, there were no lines to follow so I just held the sander at the tilted angle and kept running back and forth to fill the whole table with this “planked” effect.
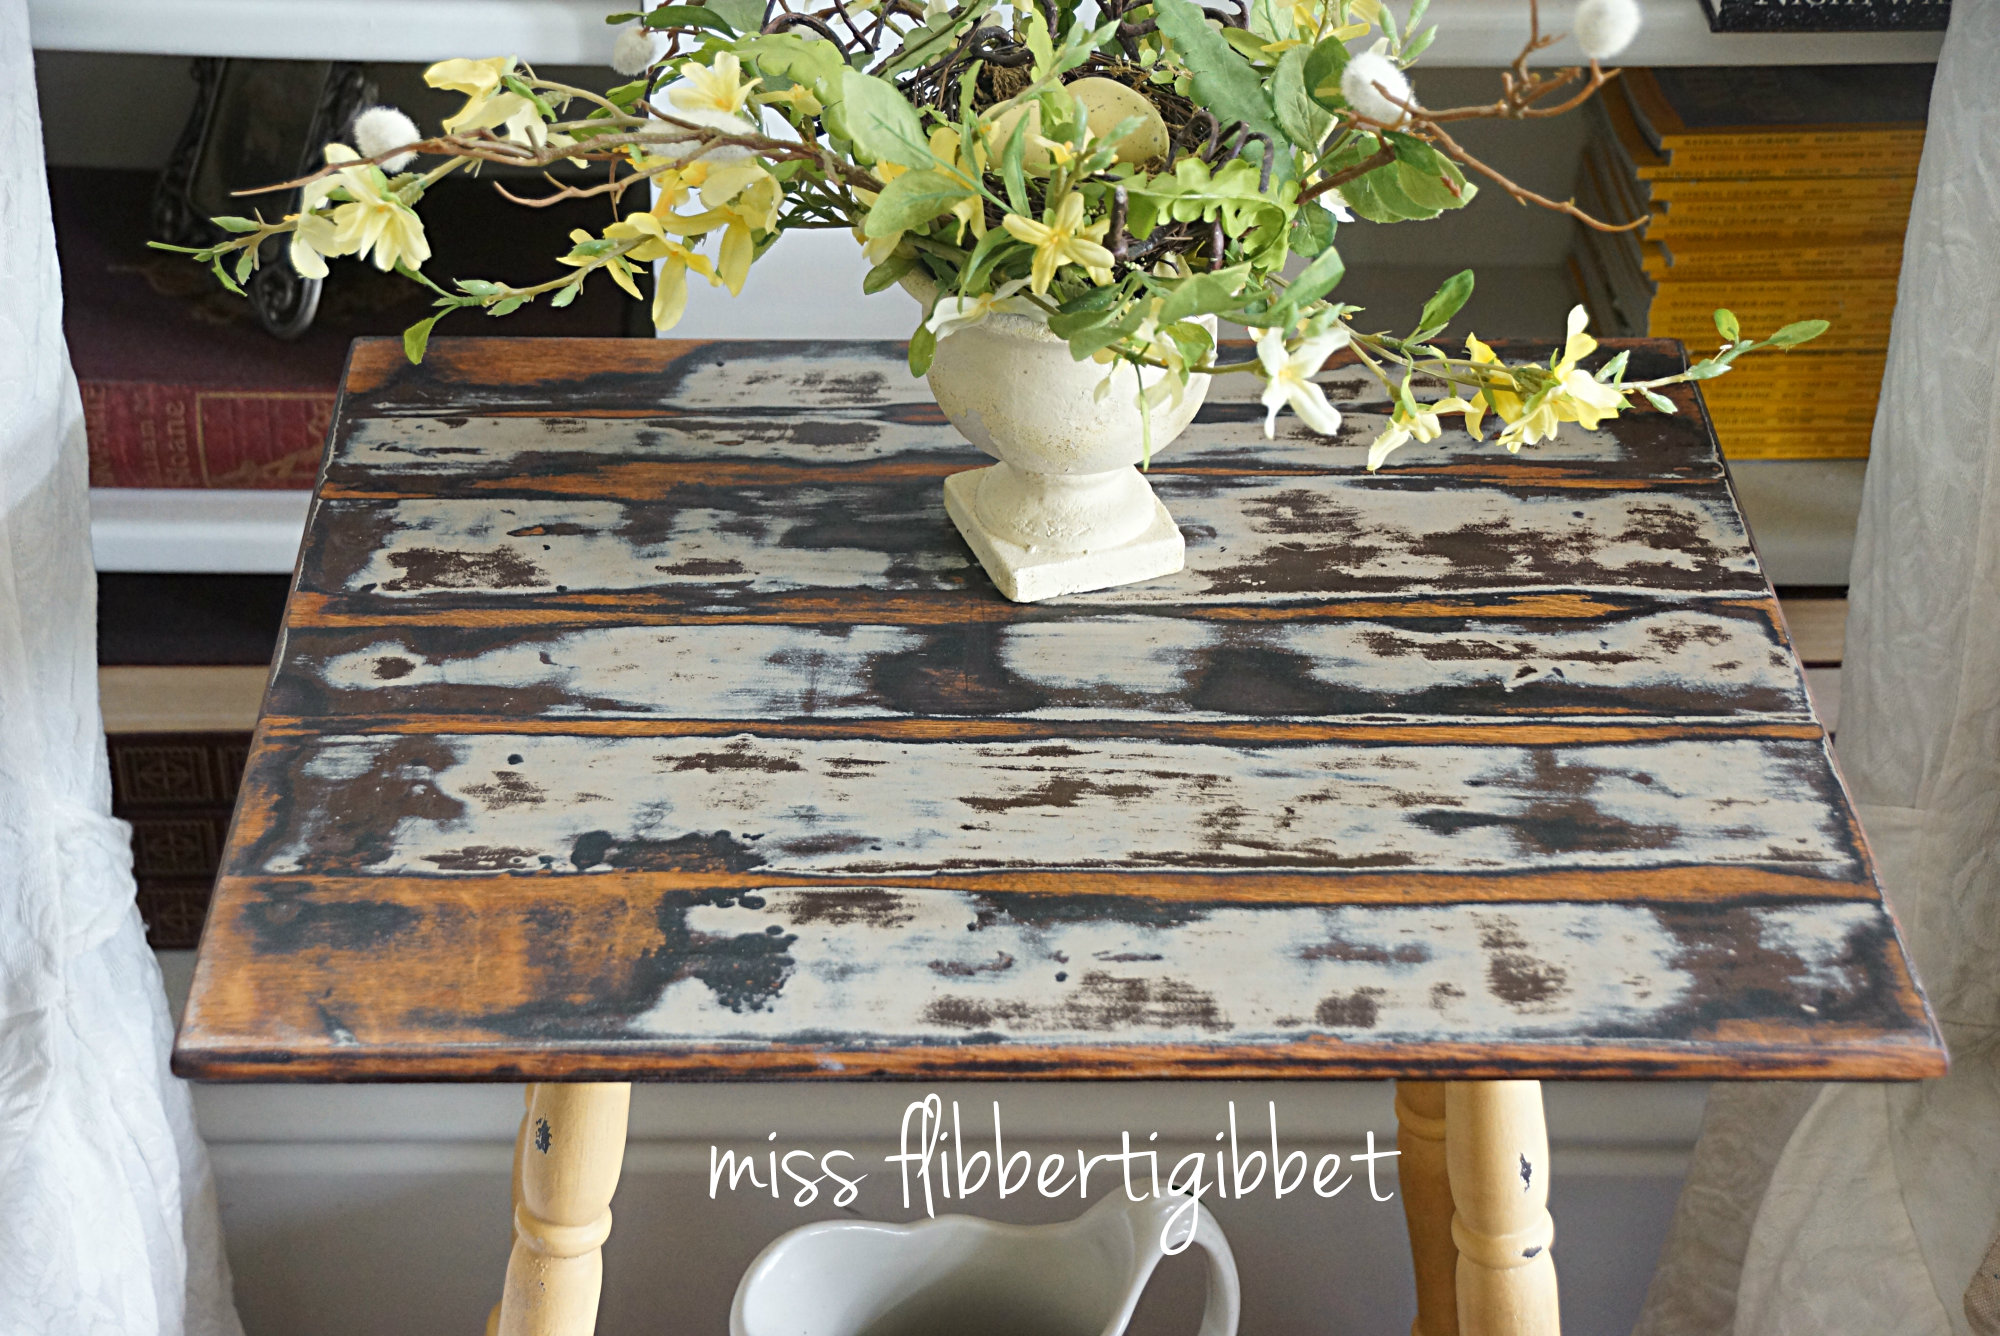
When I was happy, I painted the table using two coats of Powder River in Buckskin, finished with a coat of MMS Antiquing wax and then MMS Furniture wax.
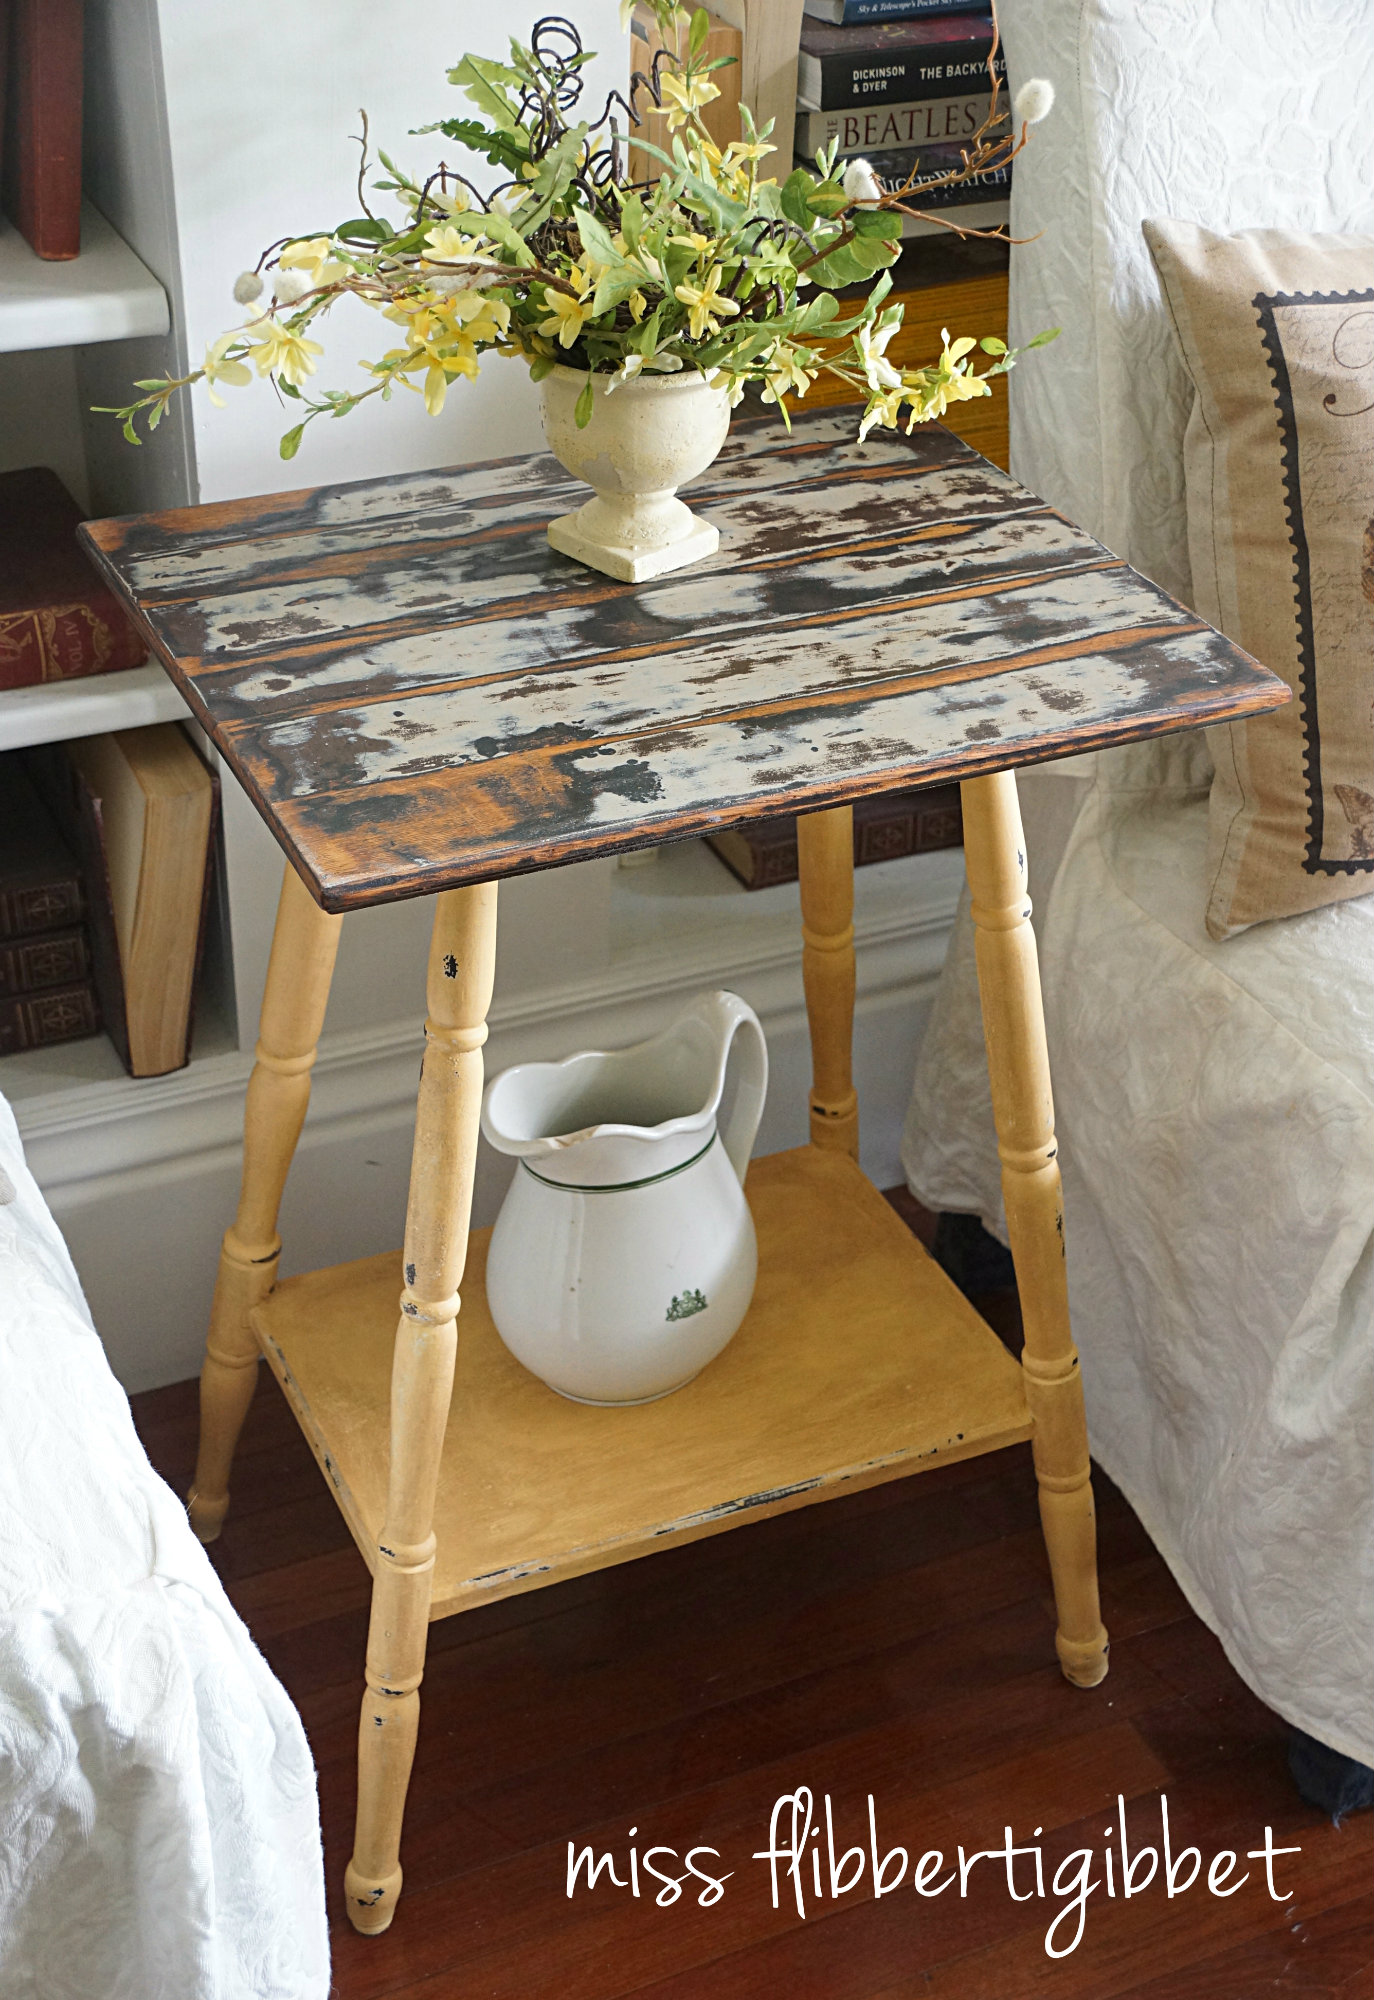
Then it was time for the top. I decided to use MMS Hemp Oil as a finish because it really soaks into the wood and gives a natural, refinished antique look. It needs time to really soak in before you apply a subsequent coat.
But after it soaks in, you have such a pretty, smooth finish that feels and looks very natural.
This sanding technique can be used for any painted piece you might like. I’ve also used it on my own coffee table and other pieces I’ve done for sale. It adds a nice, rustic touch.
Happy furniture refinishing!
I hope you’ll follow me on HomeTalk (you can see it in the sidebar)! I’m linking this post up there! You can see some of my other projects too!
If you haven’t joined HomeTalk then you are missing out on one of the best gathering places for ideas! You can ask questions to all kinds of experts, post pictures of your own projects, link your blog posts and so much more!


 I'm Lorraine. I have a love for home & design and I enjoy sharing that passion with others. I'm so glad you're here to join me.
email: missflibbertigibbet@gmail.com
I'm Lorraine. I have a love for home & design and I enjoy sharing that passion with others. I'm so glad you're here to join me.
email: missflibbertigibbet@gmail.com


This looks awesome. Glad you like the paint. Is this in your sunroom?
karen@somewhatquirky recently posted…A Short Story About A Trip
Looks great…love the patina!
I LOVE the top, it looks amazing. Fell in love with your name over at Primitive and Proper and just had to visit, glad I did.
Alison x
Alison @ Rubylicious Bespoke recently posted…Stars and Apple Green
Hi Lorraine, love seeing this table once again. Thank you for stopping by and your kind comment on my makeover. I am enjoying it. Have a great day and happy painting.
XO Celestina Marie Design
Celestina Marie recently posted…Laundry Sewing Room Makeover!
Now how cool is that? I love happy little surprises like that!! What a great table.
Nancy @ Artsy Chicks Rule recently posted…First in a series ~ “Guest Post Fun” Welcomes Mary Beth from Cupcakes and Crinoline
The end result is gorgeous, Lorraine! Is PRO another brand of Chalk Paint?
The table looks right at home there snuggled in between the two chairs. It’s got so much character now!
Liz
Liz @ Quirky Vistas recently posted…Mad Men Style
I love happy accidents! Looks great and love the color!
I love this makeover! It is gorgeous!!! Hope you are having a fabulous weekend!
XO
kristin
I really like the unique look of this table top, Lorraine. Wonderful job! It looks great next to the slip covered chairs, too.
Miss Charming recently posted…The Unfortunate Lamp Incident
Well I’m only a little behind in my blog reading!! I love this table and as an apt pupil, I have pinned this orbital technique so I can try it when the right piece comes along. (It may already be out in my shed waiting for me.) Nice job Lorraine!
Danni@SiloHillFarm recently posted…LAUNDRY ROOM MAKEOVER – MISSON ACCOMPLISHED
It’s a great look!
Korrie@RedHenHome recently posted…I took that leap…
LOVE LOVE!!! I want to do this to my coffee table!
Jillian recently posted…I got a little busy!
Thank you for posting this. I have the exact table in my garage..I have (joking) been talking to it over the last 2 months, asking it “what do you want to look like?” LOL. I have not wanted to paint it yet because I could find ANY inspiration for the table. THEN I saw your post. THank you, I am going to try and duplicate this process. I will come back and get you some pictures when I am done!!!
Thanks for sharing. That looks very beautiful.Great job.
ness recently posted…How to Restore Eucalyptus Furniture – Easy Care Tips